Wednesday 14 May 2014

Synchronizing Excel Tables with SharePoint Lists

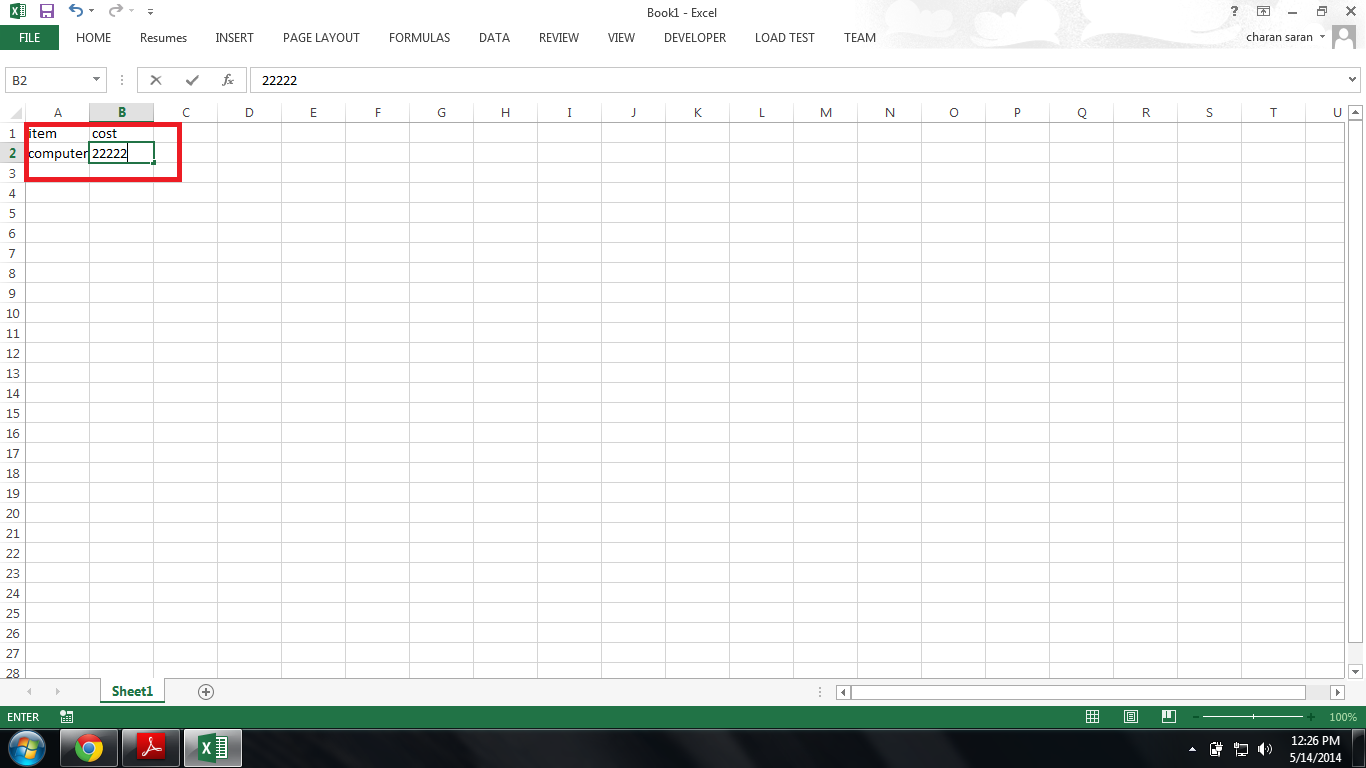
first open your blank excel sheet just enter two headings item and cost
some items like computer and cost

 then we need to put that columns as headings so go to insert tab then click table option we will get some popup just by clicking OK it will treat item and cost as headings

design tab will be appear in excel sheet
now we need to add some excel add in to excel by going to file options tab will appear
add in download url is  http://www.microsoft.com/en-us/download/details.aspx?id=9345
by clicking options addin tab will appear by clicking addins --->manage addins--->excel addins-->go
by clicking go button it will ask for browse your addin or select your addin you can browser the downloaded addin from your computer or else you can select it
by selecting addin we can see the option synchronize with sharepoint 

by clicking it will ask for sharepoint site url and list name by clicking publish it will publish that table to sharepoint
now if we go to sharepoint site we can see the list
by adding items to that list the upadated list items we can see in excel
by going to excel sheet table ---> synchronize option 
we see the updated list
as shown below


Wednesday 7 May 2014

how to restrict a document library to upload only specific file format in sharepoint

just go to sharepoint centeral admin

------> then click on security it will display option like below


by clicking define blocked file types  u will goes to below screen

just add the format like i did docx format if i upload the document like docx it wont allow u to upload that document it will show below screen


if any one knows how to do same thing in office 365 online let me know


Saturday 3 May 2014

good practice for asp.net mvc applications


just go to this link it is a microsoft site
http://www.microsoft.com/web/gallery/categories.aspx?category=eCommerce

by clicking install button


in browser by typing host url demo.magelia.com we will get the administrater panel
magelia providing three editions among them comunity edition is free and professional edition is free for 45 days in comunity edition only one store is possible and upto 99 products is possible

we need to download front demo site from above link
inorder to add category items we need to add products first by clicking the add new button
by clicking add new item we will get the above screen with product type and some other configurations
in above inventry option is for stock available are not we can provide that in inventory option
in above price option is for pricesing the product
  
we can add more options for products by using product types and product attributes


finally we will add the products to category like above


we can add the images from characterstics option are content option from tab
after adding all the products we nee to click on dataupdate button then it will forword to above screen then we need to click on update data button
all the updation is completed then it will reflects in home screen we can observe  in above screen


creating bing search api apps


Signup with your Microsoft account
After signup it will ask for subscription for search
 Then click on my account tab it will ask some details  just fill it

By using this primary account key we will get the details

Then go to developers tab on left side
Just go through register button as I already registered I have one application just click on register button

In redirect url just place your local visual studio or eclipse ide url  from browser other  wise  it won’t work

Just copy below code and replace with your primary account key


<html>
<head>
    <script src="http://ajax.aspnetcdn.com/ajax/jQuery/jquery-1.7.2.js" type="text/javascript"></script>
    <script type="text/javascript">
                   
        var accountKey = "XxY4qvgYloTKfZ3DsKfW3BFc1a1NenIuiSisHgkTOwY";///your account primary key
        var accountKeyEncoded = base64_encode(":" + accountKey);

        jQuery.support.cors = true;

        function setHeader(xhr) {
            xhr.setRequestHeader('Authorization', "Basic " + accountKeyEncoded);
            //'Basic <Your Azure Marketplace Key(Remember add colon character at before the key, then use Base 64 encode it');
        }

        function GetBing() {
            //Build up the URL for the request
            var requestStr = "https://api.datamarket.azure.com/Data.ashx/Bing/Search/v1/Image?Query=%27xbox%27&$top=50&$format=json";

            //Return the promise from making an XMLHttpRequest to the server
            $.ajax({
                url: requestStr,
                beforeSend: setHeader,
                context: this,
                type: 'GET',
                success: function (data, status) {
                    var results = data;
                    var imgSrc = data.d.results[0].MediaUrl;
                    var imgElement = document.getElementById("theImage");
                    imgElement.src = imgSrc;
                    //       imgElement.width = 200;
                },
                error: function (jqXHR, textStatus, errorThrown) {
                    alert(textStatus);
                }
            });
        }

        function base64_encode(data) {
          
            var b64 = "ABCDEFGHIJKLMNOPQRSTUVWXYZabcdefghijklmnopqrstuvwxyz0123456789+/=";
            var o1, o2, o3, h1, h2, h3, h4, bits, i = 0,
              ac = 0,
              enc = "",
              tmp_arr = [];

            if (!data) {
                return data;
            }

            do { // pack three octets into four hexets
                o1 = data.charCodeAt(i++);
                o2 = data.charCodeAt(i++);
                o3 = data.charCodeAt(i++);

                bits = o1 << 16 | o2 << 8 | o3;

                h1 = bits >> 18 & 0x3f;
                h2 = bits >> 12 & 0x3f;
                h3 = bits >> 6 & 0x3f;
                h4 = bits & 0x3f;

                // use hexets to index into b64, and append result to encoded string
                tmp_arr[ac++] = b64.charAt(h1) + b64.charAt(h2) + b64.charAt(h3) + b64.charAt(h4);
            } while (i < data.length);

            enc = tmp_arr.join('');

            var r = data.length % 3;

            return (r ? enc.slice(0, r - 3) : enc) + '==='.slice(r || 3);

        }

    </script>
</head>

<body onload="GetBing();">
    <img id="theImage" />
</body>
</html> 
You will see below output

As I searched for xobox image so it displayed xbox image
This is method with javascript
You can  follow this flexible application you can get idea by going to this link http://msdn.microsoft.com/en-us/library/gg312154.aspx